How to Buy Your First NFT | Crypto for Beginners
Over the last twelve months, NFTs have exploded in popularity. Major brands and celebrities are lining up to create and purchase NFTs, and trading volumes are in the tens of billions of dollars.
NFT stands for ‘non-fungible token.’ To give a simple definition, NFTs are blockchain-based assets that are used to prove the ownership of unique property, like art, music, domain names, and collectibles. Even physical items can be represented digitally using NFTs, with luxury watches and real estate being notable examples.
At the moment, most NFTs (about 97%) are issued using the Ethereum blockchain network. Not only is this network the most popular, but it’s the most accessible, offering a full range of easy-to-use wallets and NFT marketplaces, appropriate for anyone from beginners to long-term HODLers.
Getting started with NFTs on Ethereum isn’t just easy, but it’s a lot of fun! In this step-by-step guide, we’ll show you how you can buy your very first NFT.
Step 1: Buy Ethereum
Step 2: Set up your wallet
Step 3: Send ETH to your wallet
Step 4: Sync your wallet with a marketplace
Step 5: Buy your first NFT
Step 1: Buy Ethereum
ETH (alternatively pronounced ‘Ethereum,’ ‘Ether,’ or ‘eeth’ depending on who you’re talking to) is the ‘native token’ of the Ethereum network. This just means that whenever you want to use one of the services that are offered by the Ethereum blockchain, you will need to pay in ETH.
To get some ETH, you will have to make an account on a cryptocurrency exchange. We’re partial to our own service, but you can also try a popular exchange like Kraken or Coinbase.
A cryptocurrency exchange is a business that allows people to trade money from their bank account or credit card for digital assets. When choosing your first crypto exchange, make sure to check that it is licensed to carry out cryptocurrency services. Also, good exchanges have customer support staff on call who would be happy to help you buy your first ETH, should any problems arise.
Step 2: Set up your wallet
You will need a safe place to keep your Ethereum and your NFT, once you’ve purchased it. For beginners, a browser-based wallet like Metamask is usually the best bet.
A cryptocurrency wallet is a special piece of software (and sometimes a device) that stores the ‘keys’ to your digital assets. To give a brief explanation, when you create your wallet, two long cryptographic addresses — your ‘public’ and ‘private’ keys — will be generated.
Whenever you buy a cryptocurrency or NFT, it will be sent to your public key. This is basically the address that people use to find you on the blockchain. In order for you to access the money in your wallet, you need to enter your private key, which serves as your password on the network. It goes without saying that your private key should be kept very…. private!

Upon downloading your wallet to your browser, you will be presented with something called a ‘recovery phrase.’ This 12-word list functions as the ‘backup key’ to your wallet. Before confirming this phrase, write it down on a piece of paper and put it in a very safe location.
It is important that you will be able to find this paper again, in case you lose access to your computer or want to port your wallet to another device. Still, you should make sure that nobody else can find it. Anyone who gets their hands on this phrase will be able to take your crypto!
You will also be prompted to make a password. Later, you will be asked to enter this password whenever you want to access your wallet in your browser. To create a strong password, consider using a popular service like Dashlane or Lastpass.
Remember, this password will only work in the browser and on the computer you are currently using. In order to open your wallet on another device, you will need to use your 12-word recovery phrase.
Step 3: Send ETH to your wallet
Now comes the coolest part so far — sending crypto to your wallet. As soon as you transfer your ETH to your cryptocurrency wallet, you will get access to all the cool things that are currently happening on the ETH network. You’ll soon be able to accelerate your crypto gains using DeFi, earn tokens through GameFi and, of course, enter the rapidly expanding world of NFTs.
To withdraw your coins to your wallet, all you need to do is copy your public key and paste it into the appropriate box on your exchange. A word of warning: the network will charge a transaction fee (called gas). Plan to make your transfer a few dollars over your planned NFT purchase price.
You can check gas prices here. Some exchanges (like ours) let you choose the speed of your withdrawal. If you’re on a budget, a slower withdrawal will cost you less in gas.
Once you’ve got your wallet all loaded up with Ethereum, you will be ready to buy your first NFT!
Step 4: Sync your wallet with a marketplace
Non-fungible tokens are minted, traded, and sold on special platforms called NFT marketplaces. The most popular of these is without a doubt OpenSea, while Rarible is another large (and beginner-friendly) trading platform.
Signing up with an NFT exchange is extremely simple. Just go to the upper right-hand corner of the screen, click ‘sign in,’ select your wallet and… you’re in!
For many new users, an exciting thing about making an NFT trading account is that it’s possible to stay completely anonymous. The only information that needs to be seen by anyone on the network is your Ethereum public key.
Step 5: Buy your first NFT
This has all been pretty easy so far, hasn’t it? Well, the next (and final) step isn’t rocket science either!
After you’ve spent some time looking through the marketplace for an NFT you like, all you need to do is click on it and make a decision. Either, you can buy it right away at the seller’s requested price (in which case you just click ‘Buy now’), or you can make a bid.
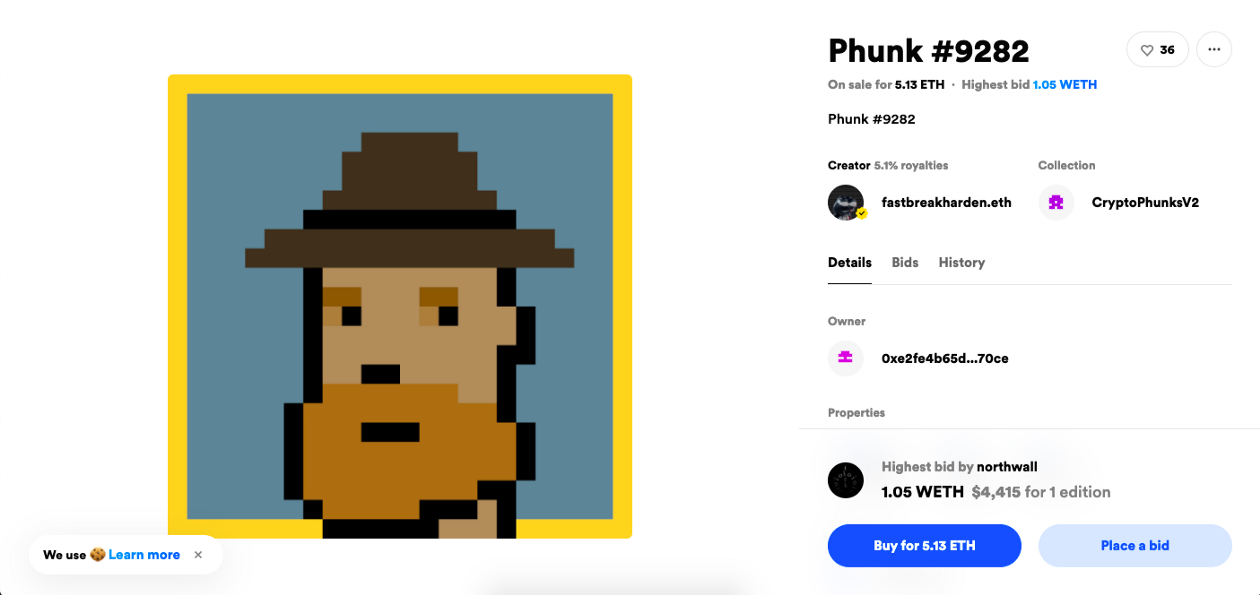
If you’ve ever used eBay, you probably already have an idea of how NFT auctions work. Just type in the sum that you are willing to pay and wait to see if you will be outbid.
NFT auction rules vary a bit depending on the marketplace. On OpenSea, for example, your offer needs to be at least 5% higher than the previous bid.
Once you have confirmed that you are ready to pay, your browser wallet will pop up on your screen. Check that you are ok with the gas fees and approve the transaction. Your ERC-721 NFT token will soon appear in your wallet.
Here at Altercap, we believe in making crypto and digital assets as simple as possible for new users. If you have any questions about how to get started with NFTs or with crypto in general, feel free to get in contact with our friendly customer support team.